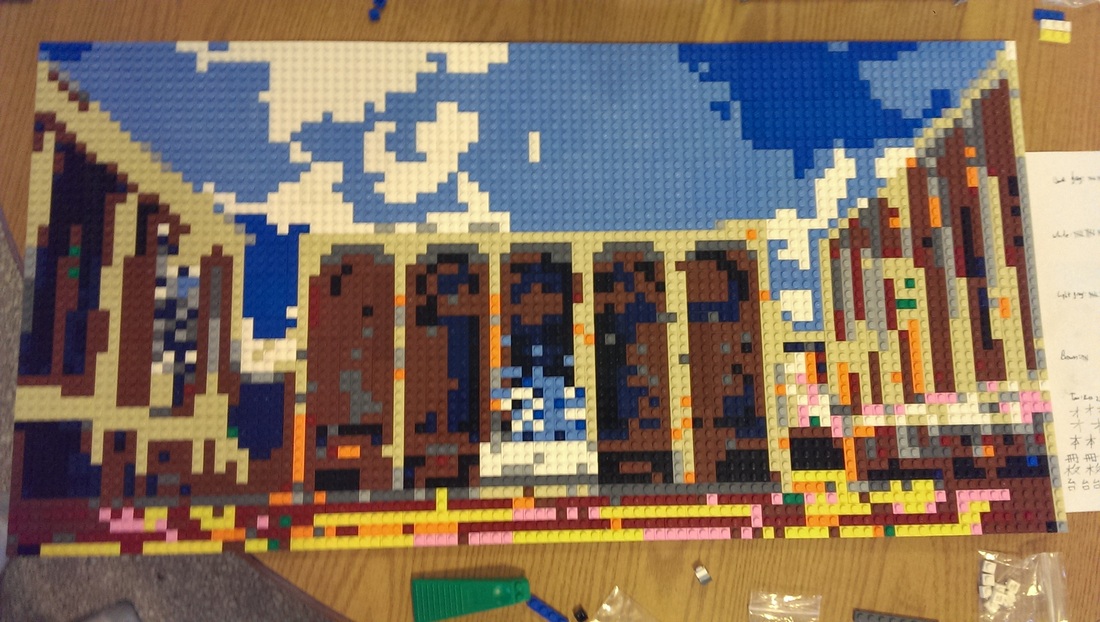
Our most recent project here at Snazz Industries was making a commissioned Lego mosaic for Google Incs. New York headquarters. Below, an image of the Lincoln center, and our mosaic interpretation!
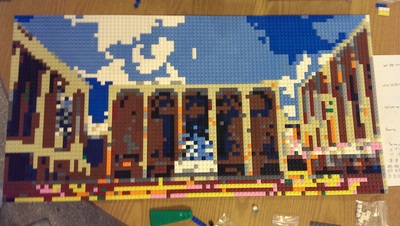
Over the course of a couple months, the Facilities Team Creative Designer at Google and I worked on several renditions of the mosaic using mosaic rendering software. We settled on the above version for its brighter colors and structure that stayed most true to the original photo. The next item on the agenda was deciding size. The above is 1 x 2 baseplates, about 15 by 30 inches and 48 x 96 studs. The other option was for 2 x 3 baseplates, which would have been much more accurate with more pixels, but would have been more expensive. Once we had both a size and photo to work off of, it was time to order the Lego.
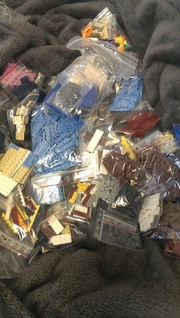
I decided not to go for standard 1 x 1 plates for the entire mosaic, in favor of a mix of plate sizes for better efficiency. The mosaic software instead spit out an XML, which I uploaded to my Bricklink wanted list. From there, I used a program called Brickficency to determine the minimum number of stores I would need to buy from. Receiving the pieces took several weeks, in part due to a massive snowstorm that shut down a lot of shipping, and also in part to slow border crossings. At last, it was time to put the pieces together.
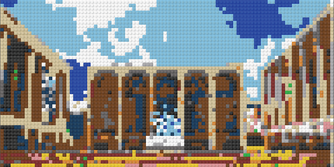
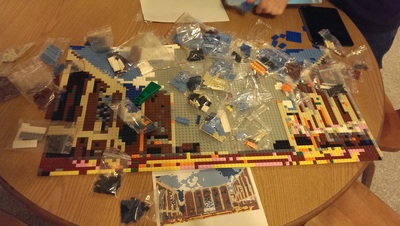
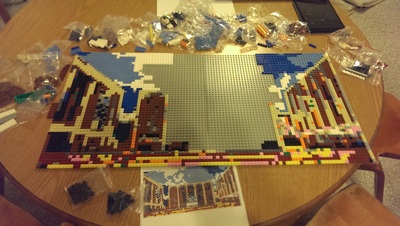
While the pieces I ordered were not 1x1 studs, the image produced by the mosaic software still was. This resulted in some tricky calculations, as there was no way to determine what pieces went where. The general rule was to put the largest piece possible in any given place. Even with this rule, it was still necessary to make a second order of 1x1 tiles in tan, brown, white and light gray to fill in some tiny dots. The entire process took about 20 man hours.
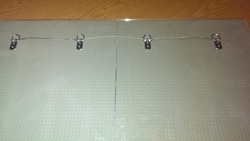
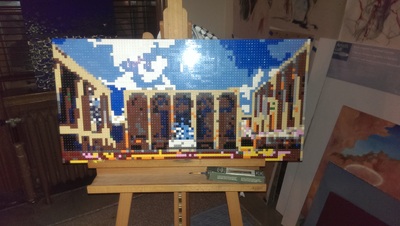
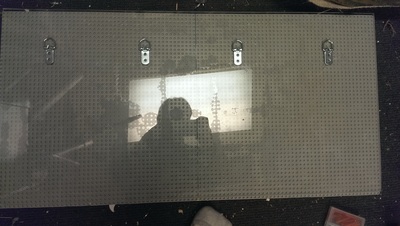
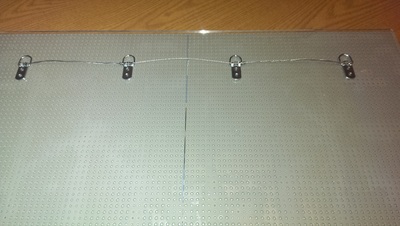
With all the studs finally in place, it was time to make the mosaic ready to hang on a wall. I had a piece of 1/4 inch plexieglass specially cut to size for the back, and mounted both baseplates on with plastic bonding glue. Once the baseplates were firmly attached, it was time to attach the hooks. Unfortunately, the plexiglass was impermeable to nails, so the hangers were placed once again with plastic bonding glue. I then looped a wire through all four of the hangers, providing an easy way to distribute the load.
The mosaic was then complete! It was a labor intensive project, but it was entirely worth it when it was able to hang up on the wall. From far away the colors melded into each other, and from up close it was striking to see the bright colors of Lego studs. I hope Google enjoys displaying it in their headquarters, because I truly believe it is a work of art!
If you are interested in getting your own mosaic, send us an e-mail and we'll help you through it!
Mosaic Photo Gallery
Special Thanks to Daniel Kline and the rest of Breckenridge for providing help and support throughout the project.
 RSS Feed
